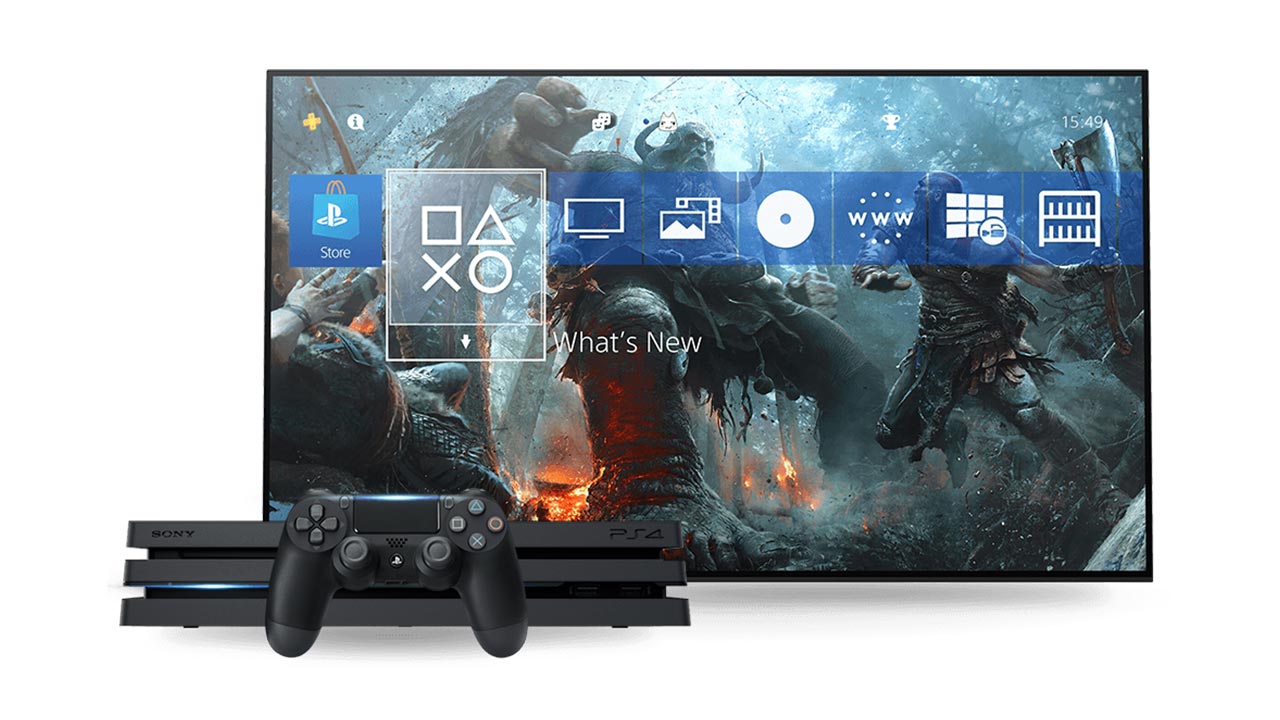
The default background of your PS4 menu can get quite boring over time. While you can download themes from the PlayStation Store and apply them, it’s still limited.
However, what you can do is add your own custom image and set is as the background. It can be your own photos, screenshots or wallpapers. You’ll only need to ensure that the images are either 1920 x 1080 pixels (for PS4) or 3840 x 2160 pixels (for PS4 Pro) in resolution.

It’s pretty simple to change your PS4 background to a custom image. All you need to do is follow the instructions below:
Step 1: Find the image you want to set as your background. This could be a photo clicked by you, screenshot from a game or a wallpaper that you downloaded from a website. However, you will need to ensure that the image has the above-mentioned resolutions to match the resolution of your console. For maximum compatibility, it’s recommended to use an image in the jpg format.
Step 2: Connect a USB drive to your PC and copy the image you want to use. You will need to create a separate folder named ‘IMAGES’ and add all of them in this folder. After copying, connect the USB drive to your PS4.
Step 3: Head over to ‘Settings’ in your PS4 and then select ‘Themes’. Under this menu, go to ‘Select Themes’, ‘Custom’ and then select your USB storage device. After that, all the images in your USB drive will be listed here. Pick your favourite one and select ‘Apply’.

Congratulations! You have successfully added a custom image as your PS4 background.
There are dozens of free wallpapers already provided by Sony on the PlayStation website from games including The Last of Us Part II, Predator: Hunting Grounds, Marvel’s Spider-Man, God of War, and many more. You can check them out here.


